My Resin Printer Kept Failing, So I Took It Apart
A closer look at my Anycubic Photon Mono M5s — cleaning up the damage, checking the LCD, and replacing some very tired parts.

A closer look at my Anycubic Photon Mono M5s — cleaning up the damage, checking the LCD, and replacing some very tired parts.
My Anycubic Photon Mono M5s had reached the point where failed prints were becoming far too common.
Instead of changing another slicer setting, increasing exposure time, or simply trying the same print again, I decided to stop and give the printer a proper service.
Once I started taking it apart, it became fairly obvious that this was overdue.
Starting with the mess
The first problem wasn't particularly difficult to diagnose.
The printer was filthy.
There were cured resin splashes on the cover, resin residue around the vat and plenty of evidence of previous failed prints. Underneath the vat, things weren't much better.
I wanted to do more than clean the visible surfaces, though. If I was going to find out why the printer had become unreliable, I wanted to work through the important components one by one.
Under the screen protector
The LCD area was one of my main concerns.
The existing screen protector was scratched, dirty and covered with old resin residue. With the vat removed it looked bad enough that, initially, I wasn't sure how much of the damage was actually on the LCD itself.

I removed the protector and carefully cleaned the exposed LCD with isopropyl alcohol.
That changed things considerably.
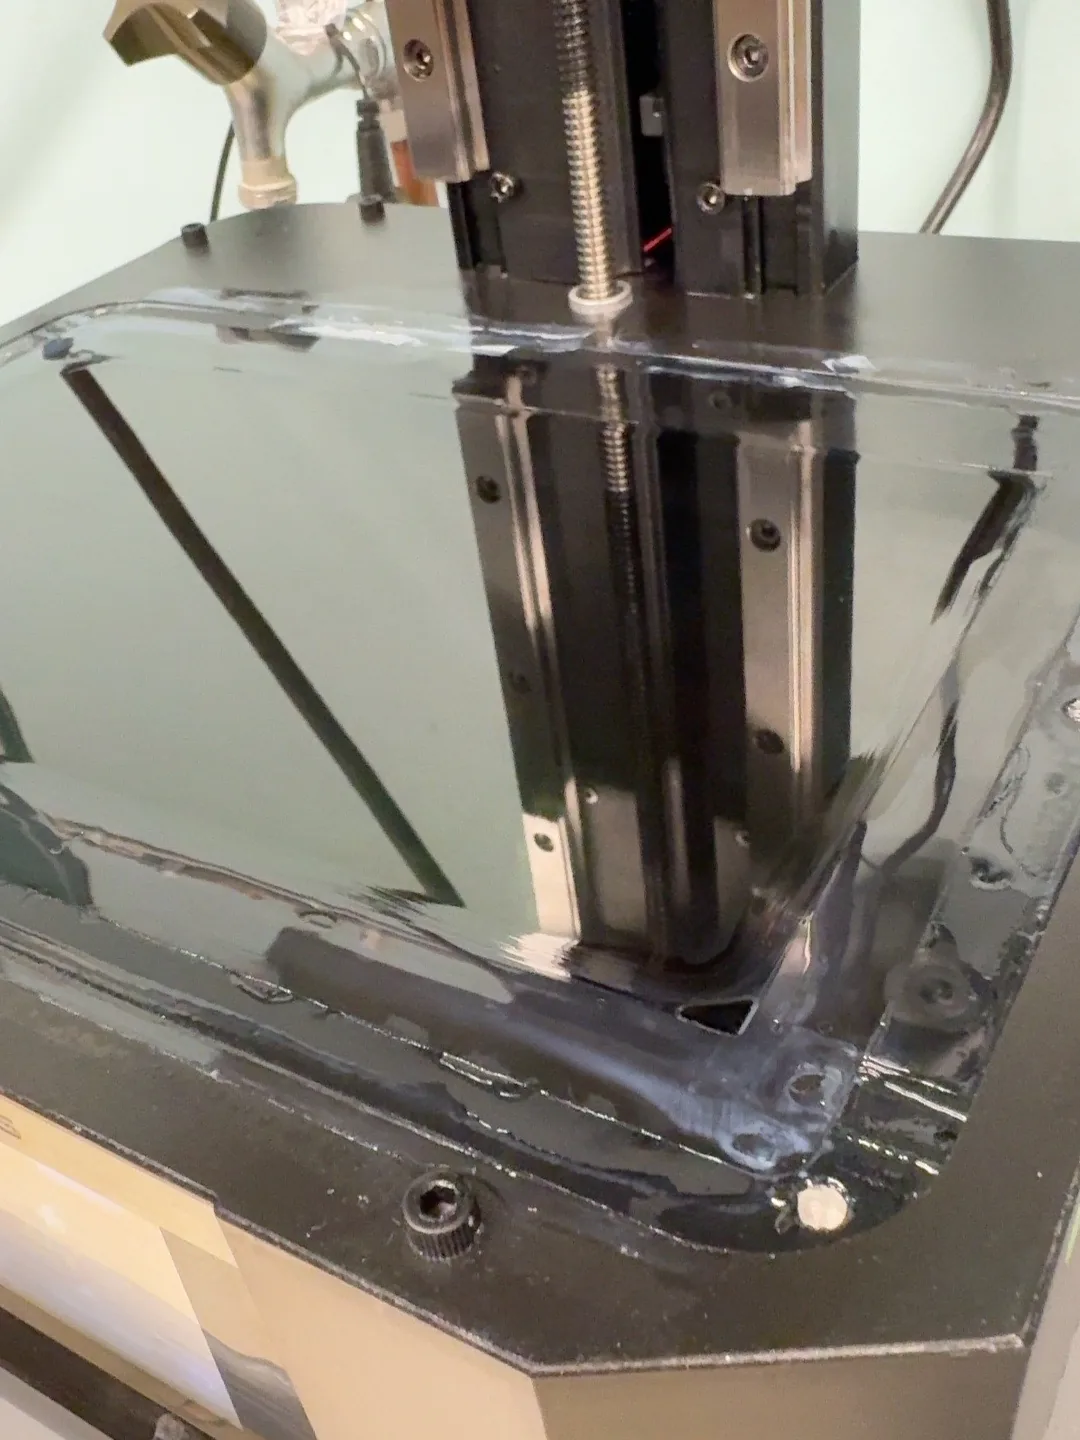
Underneath all of that mess, the LCD itself appeared to be in surprisingly good condition.
But looking good isn't the same as working properly.
Testing the LCD
Before covering everything up again, I ran the printer's LCD exposure tests.
This was probably the most useful part of the service.
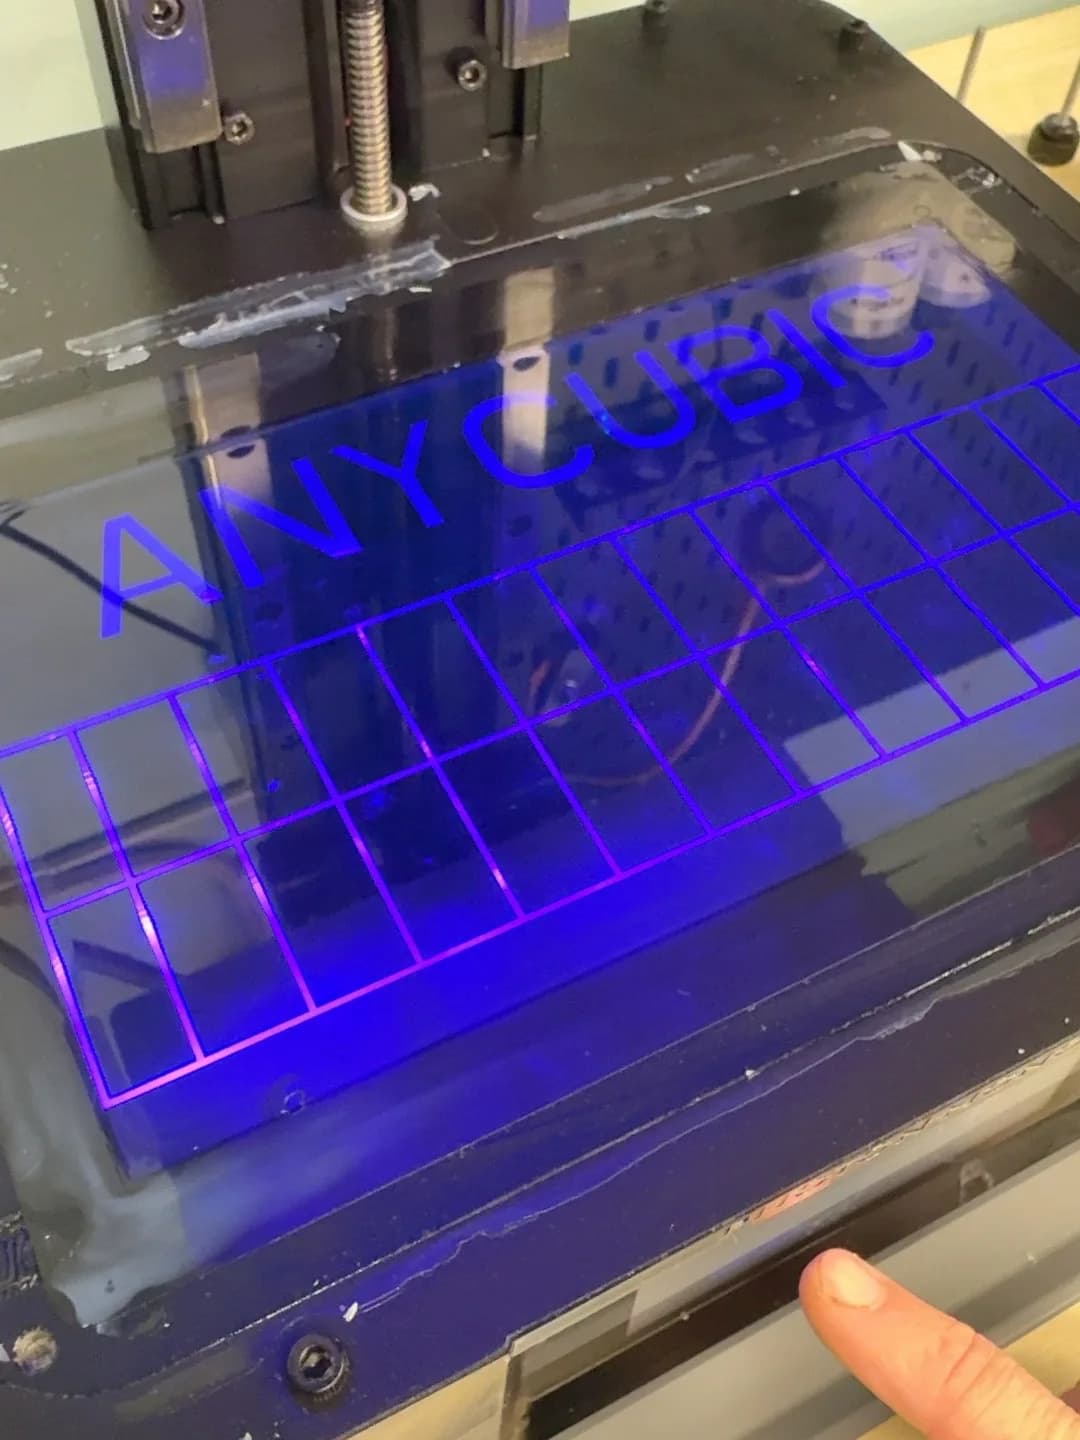
The test patterns appeared clean and complete. I couldn't see any obvious dead areas, missing sections or major defects in the panel.
So, at least based on the exposure test, there was no reason to replace the LCD.
That was a considerably better result than I had expected when I first removed the vat.
New protection
With the LCD cleaned and tested, I installed a new tempered screen protector.

It's a relatively inexpensive component, but after seeing what the previous protector had absorbed, I'm very happy there was one installed.
I'd much rather replace a protector than an LCD.
The vat was next
The release film initially didn't look catastrophic while it was installed.
Once I dismantled the vat and removed it, however, the condition became much easier to see.
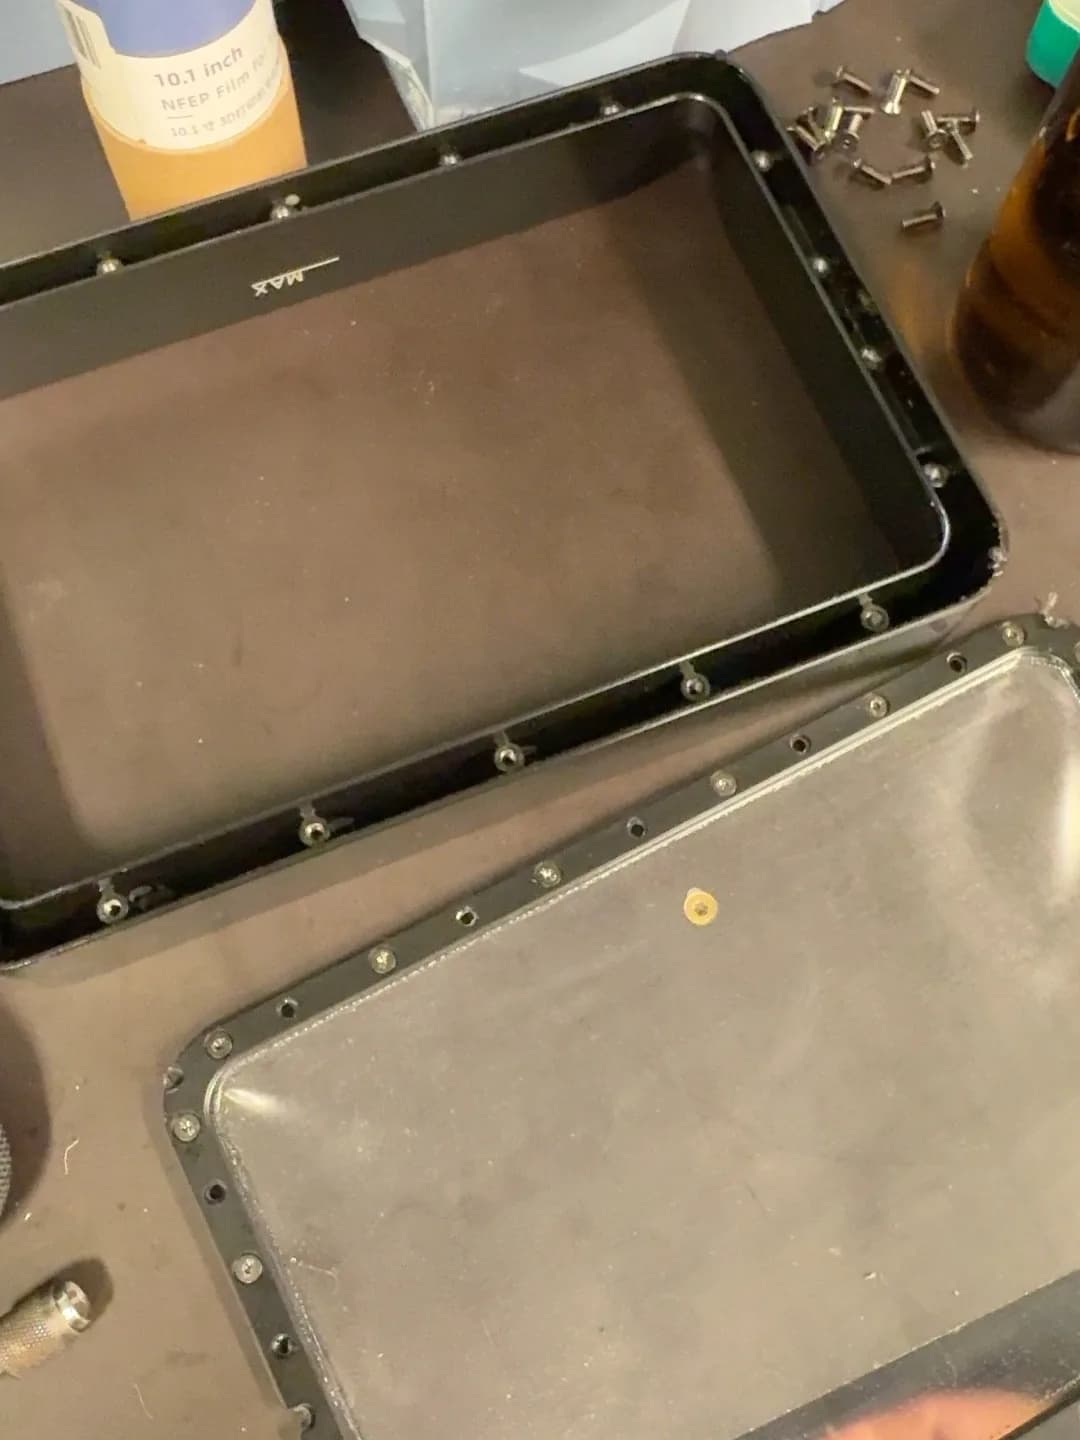
Held against the light, the old NFEP showed extensive wear: fine scratches, cloudy areas and several more substantial marks across the surface.
Could this alone explain every failed print?
I don't know.
And I don't particularly want to pretend that it does.
Resin printing has too many variables for that conclusion. But it was clearly a worn component in a printer that had become unreliable, so replacing it made sense.
Rebuilding the vat
I already had replacement 10.1-inch NFEP release films, so the old film came out and the vat was completely rebuilt.
Replacing it is a surprisingly mechanical little job. There are a lot of screws, and getting even tension across the film matters considerably more than simply tightening everything as hard as possible.
I gradually tightened the frame, working around it evenly until the new film was properly seated and tensioned.

The difference compared with the film I removed was substantial.
Back together
Everything is now cleaned, replaced where necessary and assembled again.
The service ended up including:
- A thorough clean of the printer and resin area
- Removal of the old LCD screen protector
- Cleaning and inspection of the LCD
- LCD exposure testing
- Installation of a new tempered screen protector
- Complete vat disassembly
- Replacement of the worn NFEP release film
- Reassembly and inspection
There is one important thing missing from that list, though:
A successful print.
I haven't proven that the original reliability problem is solved yet.
And that's really the next part of this.
The printer is back together. The obvious wear has been dealt with. The LCD appears healthy. The release surface is new.
Now it needs to print something.
Continue Reading
I use digital tools for almost everything, but some ideas need paper before they need structure. This is how I plan to turn a Traveler’s Notebook into a practical analog workbench.
Writing about music, visual practice, technology, learning and the systems behind the projects.